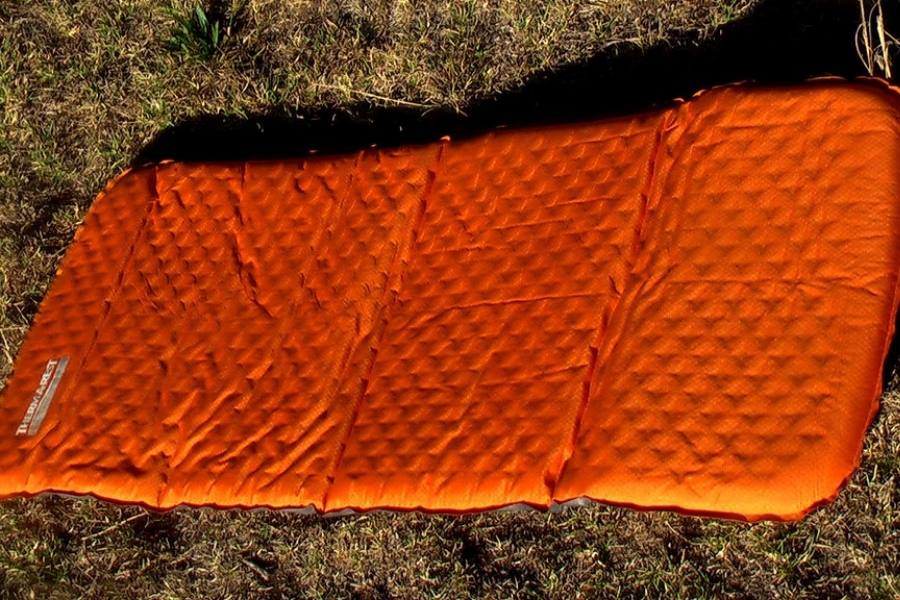
Indeed, we can rarely find any more convenient invention than air mattresses, particularly for glamping, enjoying the great nature and outdoor activities, or hosting a houseguest party in a tight apartment.
Also, we can rarely find anything worse than the sinking feeling when suddenly waking up and finding the leaky air mattress that remains surrounding us.
Here’s the good news: If that’s your case, we’ll help you fix this deflating circumstance through this post. Let’s see the steps to fix this problem together!
Can You Seal A Hole With Duct Tape?
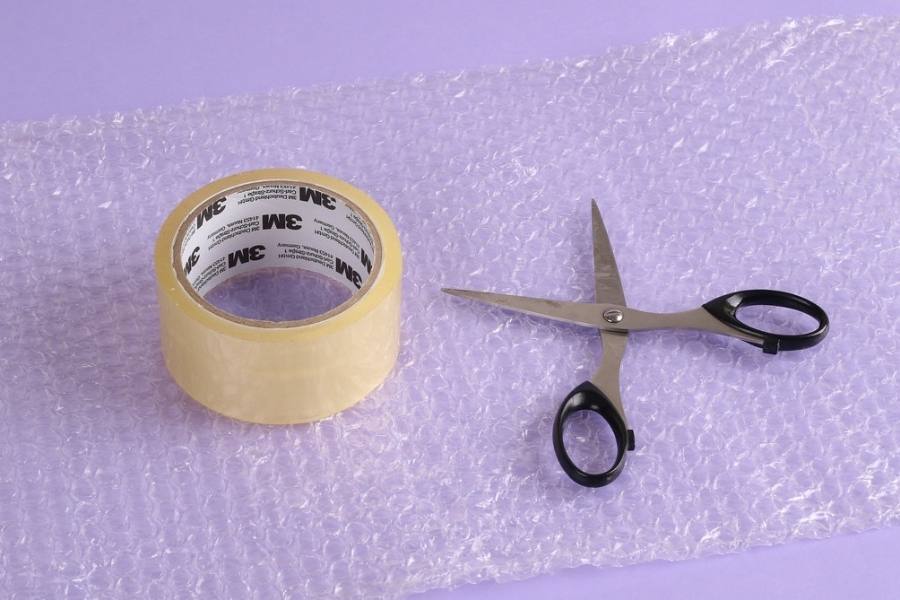
Yes. You can patch the holes for an air bed with duct or cloth tape. We’ll walk through the detailed process in the below section. However, one should remember that this solution is just temporary.
Big-sized holes need something larger like a patch. But if the tear is so tiny that one can barely see it, yet you can feel that the bed is gradually sinking, cloth tape is the ideal solution.
If you want to find a permanent solution when your pad develops a hole, cloth tape is not the right option, and it can’t troubleshoot large rips in that fabric.
In other words, it will help procrastinate the deterioration until you fix the air bed with a robust patch or any permanent method.
How To Fix The Holes On An Air Mattress?
Before proceeding with the process, gather all the necessary tools to ensure smooth work. Once you’ve got all accessories on hand, follow these steps to repair most air mattresses.
Step 1: Locate The Holes
First, you need to focus on the vertical areas at the head and the foot of the pad. Also, a mattress’s seams tend to develop holes more often than other pad areas.
One way to discover the escaping air is by listening to that ‘fitted’ sound. Move your ears closer to the pad and stir around to spot the released air.
Another way to feel the air escape is to use your hand, yet this method is not usually effective since the hole may be too tiny to produce big wind.
If the holes are minute, they’re nearly impossible to identify. You’re lucky or very careful if you can spot the air mattress leak. But even when you can’t, here’s a way to find them: Listen for released air.
Step 2: Clean The Surface
It’s important to remove debris around the leaks and prepare a clean surface. Any debris or soap residue will affect the effectiveness and longevity of the patching solution.
Start by wiping the areas dry with soap and clearing off debris and dust with a cloth. Avoid scrubbing the affected region too hard as you may hurt the fabric and cause the hole to develop bigger. Though this case is rare, it can sometimes occur.
Dab the region to remove any residual moisture and water using another dry and clean cloth. The top enemy of this patching solution is water.
It will ruin the tape’s adhesive feature, so don’t forget to give the bed one to two hours to dry after wiping it dry. Some may suppose this step is time-consuming, but it’s better safe than sorry. And waiting for 1-2 hours is not that daunting, right?
Step 3: Apply The Duct Tape
Before patching, a thing to note is that you need to release the air inside the pad thoroughly. Otherwise, the residue air may destroy the adhesiveness.
Now, cut the cloth tape into pieces 1-2 times larger than your leaks and apply them to the holes without fluctuating.
After that, flatten the solution using your fingertips so the air bubbles can’t build up. We need to re-emphasize that this solution is temporary because the glue stick on the material is not adhesive enough to sit on plastic materials for an extended duration.
The air inside the pad always strives to stress and pull away from the tape. Over time, the glue will dry and peel off from your bed.
Step 4: Give The Tape Time To Stick
Once you’ve finished applying the patching solution, it’s necessary to leave it for 3-4 hours to dry entirely before using your mattress again.
We suggest putting pressure on those pieces of tape or affected areas to yield better results during this waiting time. Place some heavy objects, like bottles or books, on the patched holes and leave for 3-4 hours.
Step 5: Test The Leaks Again
Now, it’s time to check the results. Inspect the patched areas carefully to ensure you’ve properly fixed your mattress.
After ascertaining that everything has settled down correctly, inflate the bed and check if there’re any air leaks around the treated parts.
If your pad is functioning properly, you can rest assured that your effort has paid off. Your air mattress is now good to use again.
However, if the sad news comes that the pad doesn’t work, you should repeat the process and use more glue.
Still, fail? Though we don’t want that to happen, it’s time you buy a new bed or invest in a more robust repair kit.
What Are Common Types Of Patches?
There are two primary types of patches, namely permanent or long-lasting patches and temporary or emergency patches.
Emergency Patches
Cloth tape is one of the most common emergency patches. This tool is handy for troubleshooting almost everything in life and is particularly helpful for fixing a sagging mattress.
You will need to learn how to fix an air mattress with a temporary patch if you’re about to go camping or somewhere far away.
When somewhere unusual, you may not know where you can buy the necessary tools to fix the problem if your bedding suddenly develops some holes.
So, packing a material that you know for sure can save you from emergencies is extremely important.
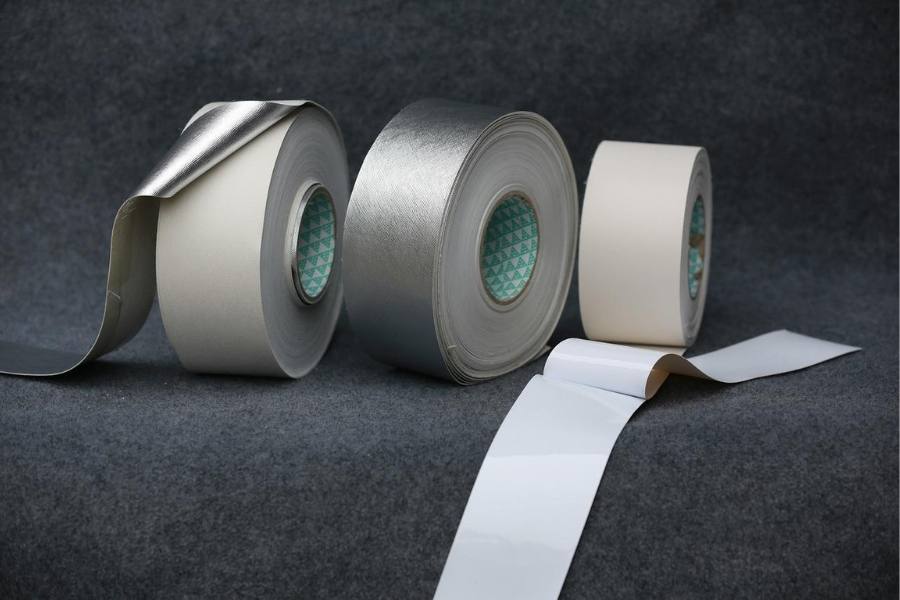
Long-Lasting Patches
A dense-duty patch kit will be the way to go if you’re looking for long-lasting treatment. Some brands sell kits tailor-designed for their mattresses.
Generally, a kit consists of sandpaper, glue (sometimes you have to buy outside), and patching material. You can sometimes get a patch kit after purchasing a bedding product. Even if your brand doesn’t offer this, you can find these kits in many compartment stores selling camping supplies.
But remember that the sandpaper comes in handy only when the bed you’re repairing develops air leaks on the side whose material is velvet-like or fabric.
Why Does Your Air Mattress Deflate Without Holes?
Your air bed may have slightly deflated although you can not find any holes, which seems weird but sometimes may occur.
If your item is new, you’ll see it deflate a bit after inflating it the first time. Why? Because the air pressure inside causes the material to stretch out.
In case you travel to a cold area with your bedding item, you can also see it deflating since the inner air gets cool and takes up less space.
Another possibility is that you have not tightened the valve fully. In this case, simply reinflate the pad, recheck all the caps thoroughly, and place it down.
If it continues to get softer after you lie on it, there’s a high chance it’s leaking.
Read more: How To Make An Air Mattress More Comfortable
How To Fix An Air Mattress With A Hot Glue Gun?
Whether a hot glue gun will help you patch your air mattress item or not is still controversial, but you can try it if you have one at home.
Note that this solution will be effective for a week maximum. Here’s how to fix your mattress air using a hot glue gun:
- Identify the holes and mark them
- Put the glue pole into your glue gun, then turn the device on. Wait for it to warm up.
- Squeeze the gun’s trigger and apply a small dab of hot glue on the affected parts, sealing them entirely.
- Wait for the adhesive to cool and test the seal’s quality by inflating the bed again.
We recommend applying this method to tiny leaks that don’t need patching. Besides, be extra careful when working with hot glue, and don’t generate another hole by accident.
Read more: Mattress Firm Return Policy
Conclusion
When it comes to temporary measures, people often think of duct tape. We hope you are clear about how to fix an air mattress with it.
Here’s a summary of the key instructions you need to stick to:
- Spot the leaks
- Prepare a dust-free, clean surface
- Apply the cloth tape
- Check again to ensure a good result
Hopefully, the article has provided you with useful information. Don’t forget to share your experiences with us.
Thank you for reading!
FAQs
We are not recommended to use hot glue to fix an air mattress. While hot glue can be strong, it is not a suitable adhesive for repairing an air mattress as it may not hold up well under the pressure and weight of a person lying on the mattress. However, it can use in emergency cases but just fix the damage temporarily.
To patch an airbed, you should use a patch kit specifically designed for air mattresses. Besides that, any thin plastic material also works to patch a hole in your airbeds.
Luckily, as a patch, duct tape absolutely works! Make sure to cut your duct tape so that there is enough to fill the hole on your airbed with at least a half-inch surrounding the hole.